Tutorial
How to Use Syncios D-Savior
Syncios D-Savior rescues over 1,000 types of lost files, whether you need to recover data from formatted disks, systems crashed due to virus attacks, emptied Recycle Bins, or a variety of external storage devices such as SD cards, TF cards, USB flash drives, SSDs, cameras, and surveillance cameras. This tool is your best choice for any data recovery scenario.
Do not hesitate, download Syncios D-Savior as soon as possible to salvage your lost data before it gets overwritten. Every second you delay could lead to irreversible data loss. Let’s see how you can safely recover your essential files with just a few simple steps.
How to Register Syncios D-Savior
On the start-up interface of Syncios D-Savior, click the "key icon" in the upper right to open the registration box.
Copy and paste the Name and Code into the registration popup dialog, then confirm your license.
Note: The registration contents are case sensitive. Please do not add blank at the beginning or the end of the word

Recover Data from PCs or Removable Devices
On the main interface of Syncios D-Savior, choose a partition (all partitions, Recycle Bin, Desktop, Custom Folder), external drive, or disk. To recover data from an external drive, simply insert it into your computer; Syncios D-Savior will detect and load it instantly.
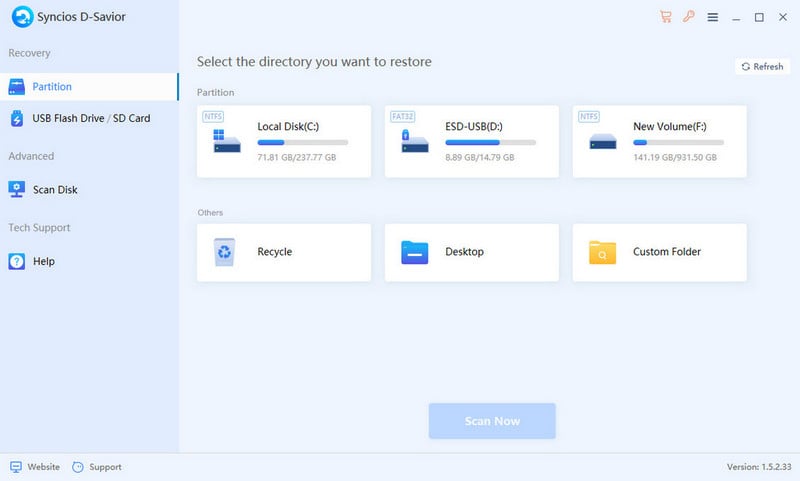
Click "Start Scan" to trigger the scanning process. It performs a Fast Scan swiftly and continues with a Deep Scan for every deleted file. During the scan, you can preview files that have been detected. If you find the files you need to recover, you can stop the scan at any time to save time. If you wish to continue scanning, you can still recover needed files even while the scan is in progress.
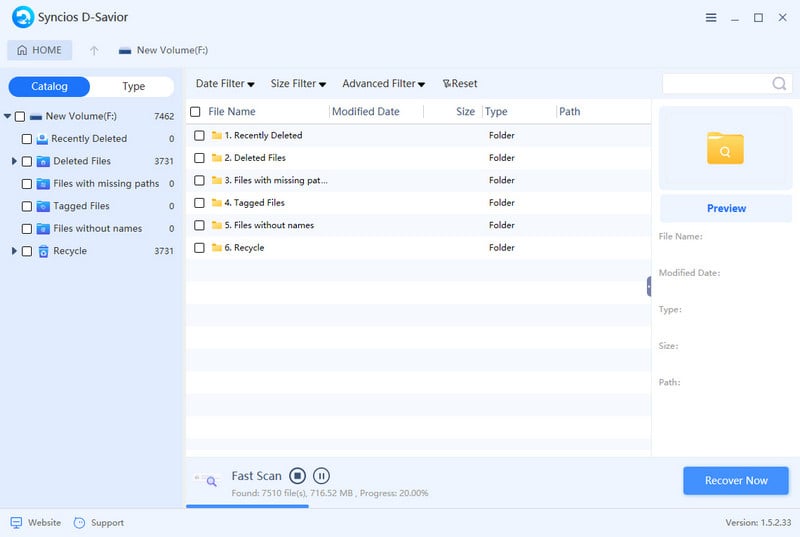
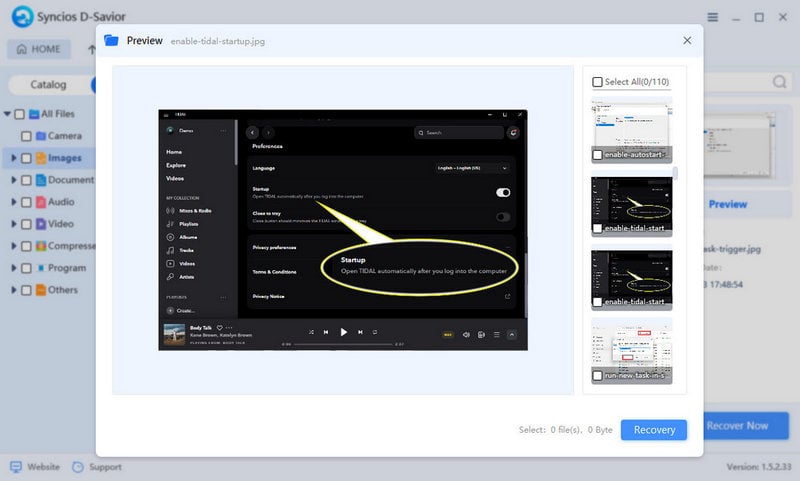
The scan results will organize files by "Catalog" and "Type". To find the files you need, click on a file to view basic information such as the filename, file type, creation date, and original file path. If you want to see more details, click the "Preview" button on the right to view images, documents, play music, videos, and more. This allows for precise recovery of the desired files.
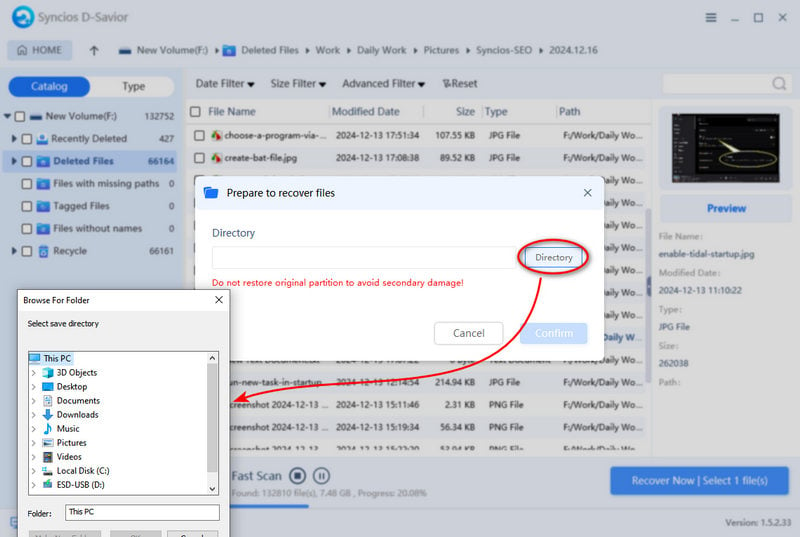
With the help of basic file information and detailed previews, you can accurately determine which files you need. Select the required files, click "Recover Now", and then choose a suitable path to start the file recovery process. Note that the original disk or hard drive where the files were stored is not available for selection to prevent data overwrite, which could lead to the loss of original data.
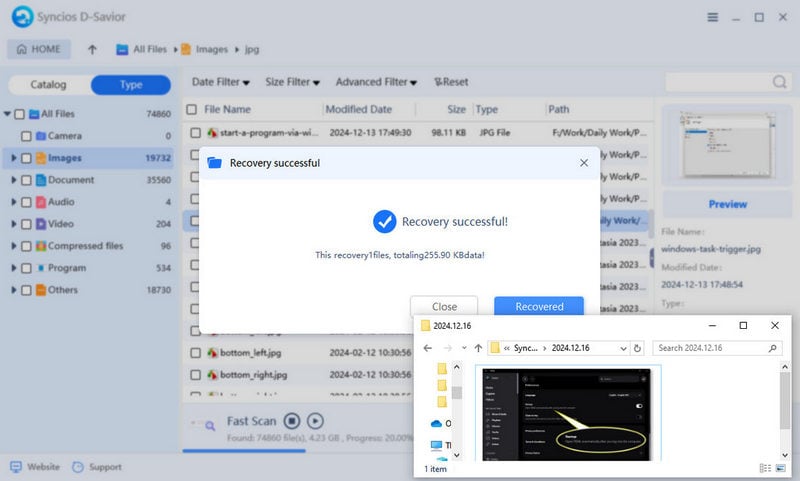
Click "Recovered" to quickly open the folder containing the recovered files. These files will be saved in a new storage folder while preserving their original file paths.
 Newly Recommended
 Related Products
WhatsApp Transfer
Backup, restore and transfer WhatsApp chats or attachments between phone and phone.
View DetailsMobile Manager
Free iOS and Android manager, selectively transfer data between mobile phone and computer.
View DetailsPhone to Phone Transfer
1 click transfer data between iOS & Android. Backup your phone data and restore later.
View DetailsiOS Data Recovery
3 recovery modes to retrieve lost data from iOS devices, iTunes backup and iCloud backup.
View Details  FAQ
FAQ

