
Tutorial for Mac
AVCLabs Video Enhancer AI is a powerful AI-driven video enhancement tool that allows you transform videos by upscaling from 480p to 1080p, 1080p to 4K, and even 8K. With full support for macOS 12 and above, it can also stabilize your shaky videos for smoother playback or deliver intelligent video blurring, perfect for adding creative effects and enhancing privacy.
How to use AVCLabs Video Enhancer AI for Windows? View full guide for Windows 

Warm reminder: The free trial of AVCLabs Video Enhancer AI offers all features, but output videos will include a watermark, and each export is limited to 30 seconds. To enjoy unlimited access and remove these restrictions, we kindly recommend purchasing the full version.
How to Use AVCLabs Video Enhancer AI on Mac?
Launch AVCLabs Video Enhancer AI
Download and install the AVCLabs Video Enhancer AI on your Mac. Launch AVCLabs Video Enhancer AI and then you will enter the main interface of AVCLabs Video Enhancer AI.
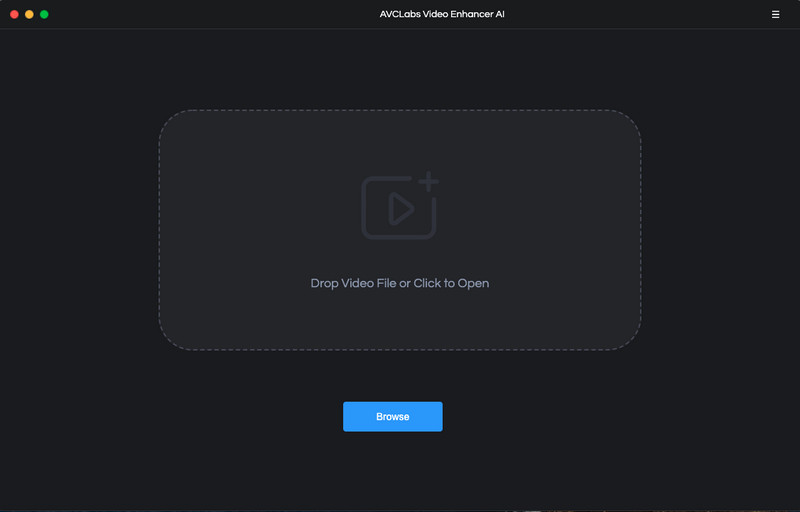
Import Video You Need to Enhance
Click on the Browse button to import your bad-quality video to the AI program.
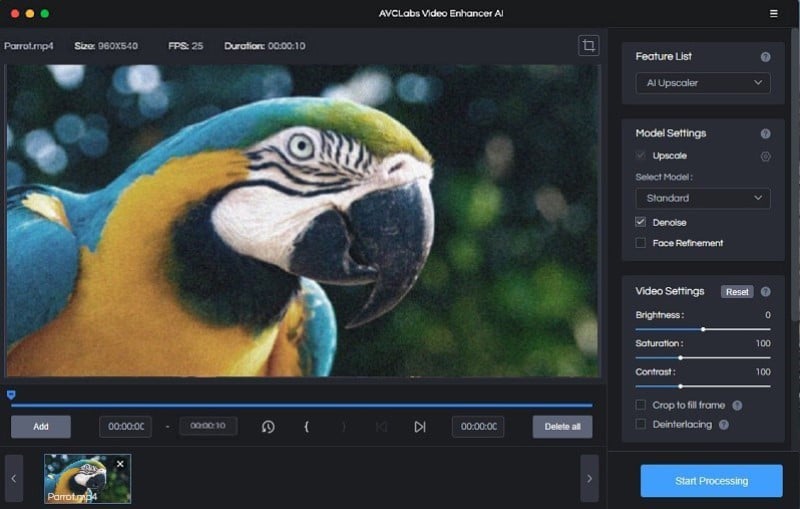
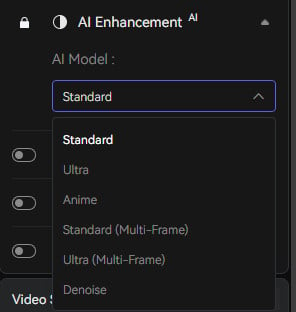
Select the Appropriate AI Model to Improve the Video
In the upper-right panel of the application, you can choose the AI Model you prefer.
To retouch faces in videos and beautify portrait-style footage for sharing on an Instagram story or Snapchat, you are able to turn on the Face Refinement option to detect and enhance every detail to make your subject look great.
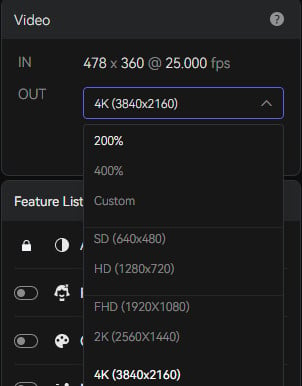
Adjust the Output Settings
This program offers multiple output sizes to its users, you can unfold the output preset and freely upscale your bad-quality videos to 1080P, 4K, or 8K. The larger the output size you choose, the longer it will take.
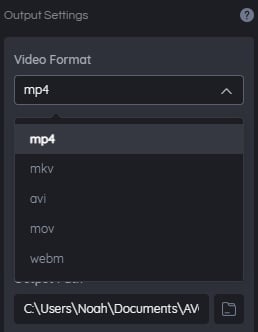
Before improving the video quality, you can set the output video format according to your need. There are two formats for your options: AVI (UnCompressed), MP4 (H.264).
Trim the Output Video
Since sometimes you just need to improve a clip of the video, you are allowed to trim the unwanted part frame by frame to save processing time.

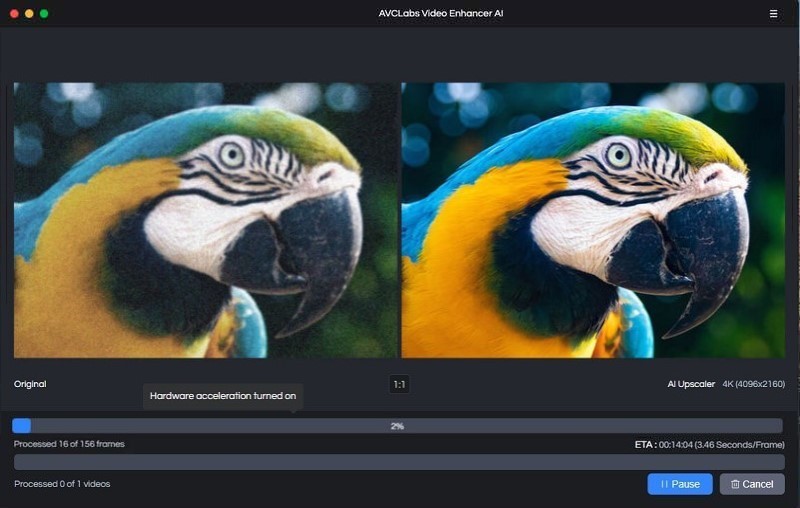
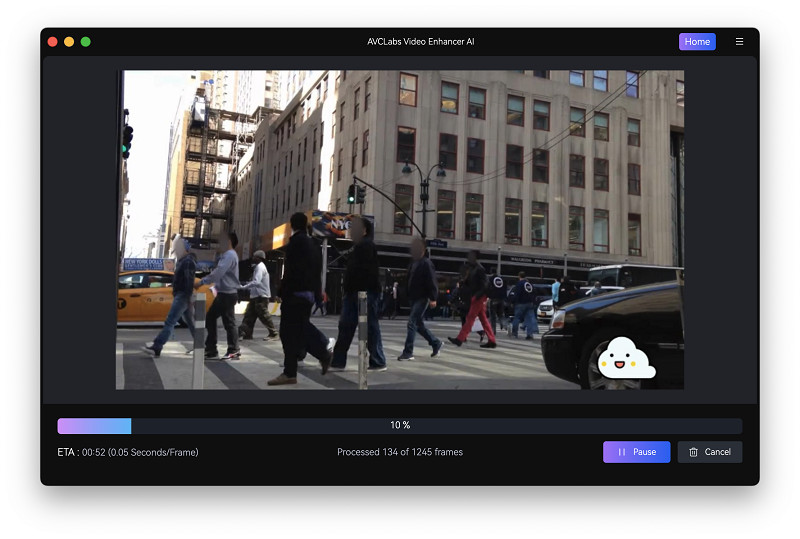
Start Enhancing and Improving the Video Automatically
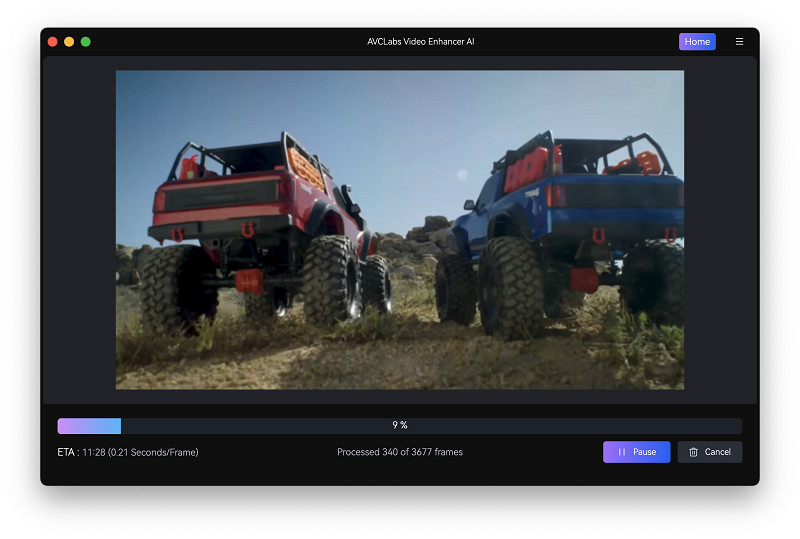
Once all of the preparation works are done, simply tap on the Export button to start enhancing and improving your blurry, shaky, grainy, pixelated videos. You are not required to do anything and AVCLabs Video Enhancer AI will optimize the video frame by frame automatically. After the enhancement process is completed, you can just open the file folder to check the output video.
How to Blur Faces, Backgrounds, License Plates and More in Videos
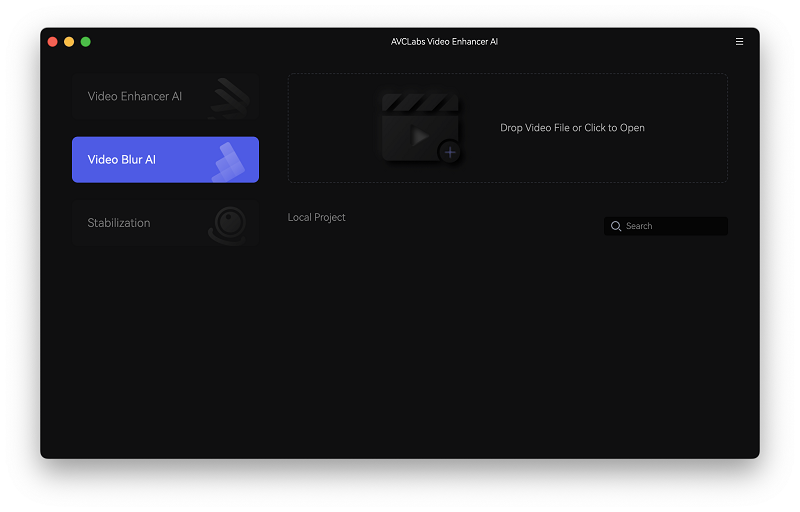
Import Video
To get started, open AVCLabs Video Enhancer AI, and switch to the Video Blur AI tab on the left panel. You can import your video in two simple ways: either click to open the file browser or drag and drop your footage directly into the program.
Add Blur Tasks
After your footage is uploaded, you can start adding blur tasks by choosing either a single or multiple blur options from the top of the window. AVCLabs Video Blur AI comes with a variety of blurring tools, including Face Blur, Fixed Blur, Background Blur, License Plate Blur and Object Tracking, to suit all your editing needs.

Each task comes with its own settings to help you get the best results. Let’s use the Face Blur feature as an example.
When using the Face Blur feature, you have two ways to customize which faces are blurred:
All Face: This option automatically detects and blurs all faces in your video. It's perfect when you want to quickly and easily blur faces without worrying about specific areas.
Custom Selection: If you prefer more control, choose the Custom Selection option. This allows you to manually select specific areas or faces in the video that you want to blur. It’s ideal when you want to blur only certain people or parts of the video while leaving the rest clear.
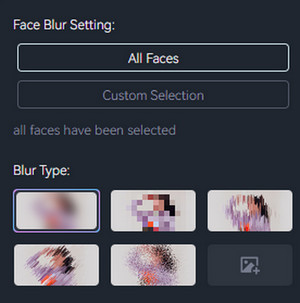
And there are 5 blur types available for you to choose from:
Mosaic Blur: Best for censoring faces, license plates, or confidential text.
Standard Blur: Ideal for softening backgrounds or creating depth-of-field effects.
Longitudinal Blur: Great for simulating vertical motion or drawing focus to the center.
Blique Blur: Use when you want a dynamic, slanted blur for an artistic touch.
Particle Blur: Perfect for dreamy edits, bokeh-style effects, or ambient transitions.You may also upload a custom image directly from your desktop as an alternative.
Custom Image Blur: Upload an image from your desktop to use as a custom blur overlay, or choose from the stickers provided by the software. This is ideal for adding a personal touch, creating branded content, or applying unique visual effects.
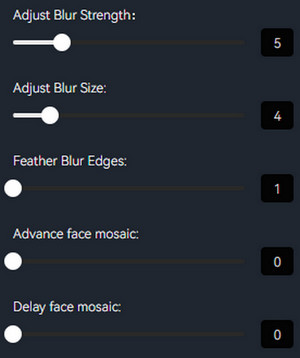
To adjust the blur settings, simply drag the slider right to increase and left to decrease.
Adjust Blur Strength: Controls the intensity of the blur effect.
Adjust Blur Size: Determines the area covered by the blur.
Feather Blur Edges: Softens the blur edges for a smoother transition, avoiding harsh lines.
Advance Face Mosaic: Improves the mosaic effect on faces, offering more detail for better privacy.
Delay Face Mosaic: Applies the face mosaic effect after a delay, perfect for timing-based scenes.
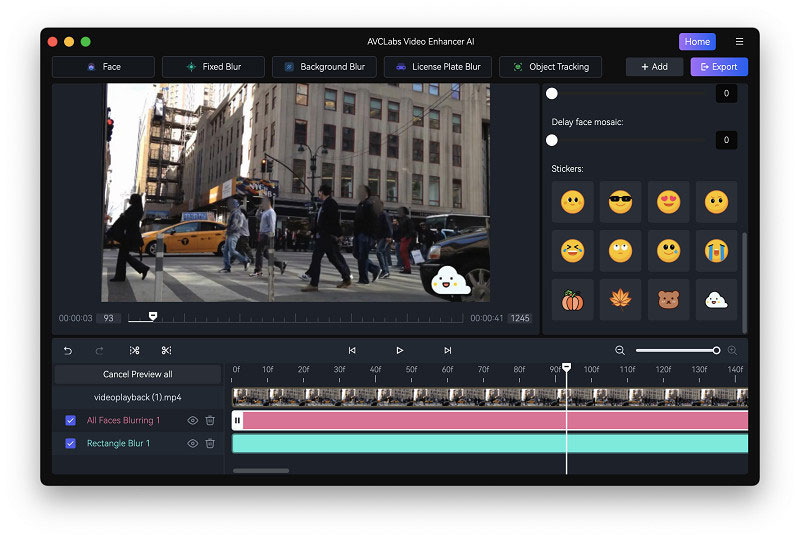
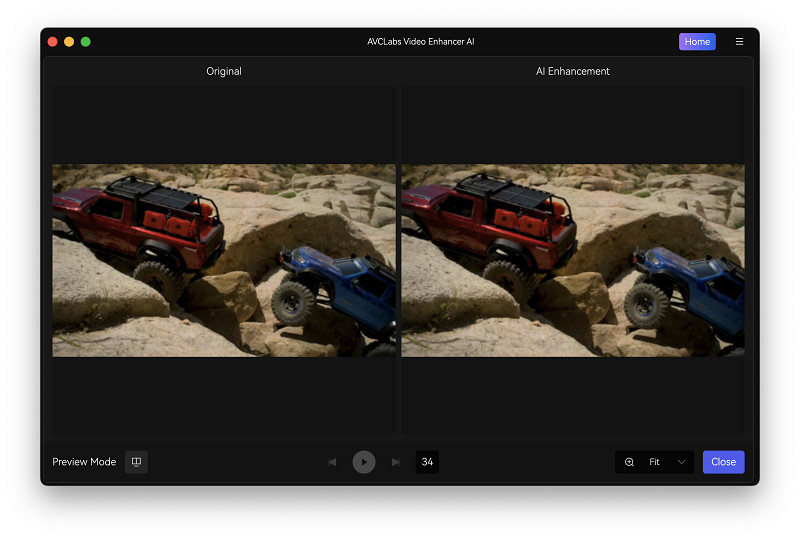
Upon adding a blur task and selecting the desired blur type, the program automatically switches to preview mode, allowing you to instantly see the blur effect. After previewing, you can go back to blur effect setting and adjust it to the optimal outcome.
Start Export
Love the blur effect? Hit the Export button at the top right to make it official and save your masterpiece.
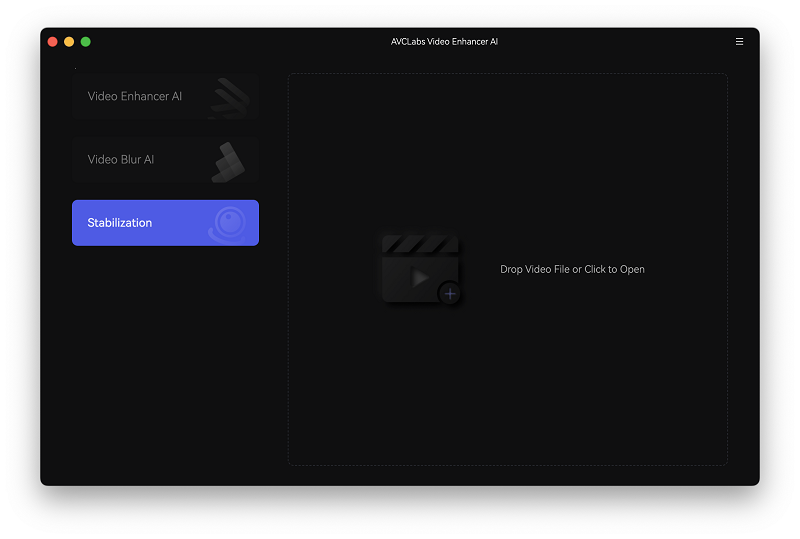
How to Stabilize Shaky Videos with AVCLabs Video Enhancer AI
Import Video
Open AVCLabs video enhancer AI and switch to the Stabilization tab. You can easily import the video you want to process by dragging them into the program, or click the tool area to locate local files.
Choose Output Settings
Once the video is imported, you will enter the configuration window, where you can adjust the output settings, including video format, video encoder, video bitrate, audio settings, and output path.

Preview Video
If you'd like to check the preview before exporting, simply click the Preview button. You can then return to the configuration settings and adjust until you achieve the desired effect.
Start Processing Video
Click the Export button in the lower-right corner to start exporting the video, once you're satisfied with the preview.
After a short wait, you’ll find your smoother footage in the output path you selected.
 Hot Products

Hero Products

Highly Recommended
AVCLabs Video Blur AI
Video blur and face blur app to blur background, faces or any part of a video.
View Details FAQ